Taking a breath…

Hi everyone! First, I want to apologize for being so MIA from this blog…it feels like all my time lately has been eaten up by work (both real work and working on the house), and blogging just has to take a backseat. And to be completely honest, I recently started (and finished!) the Twilight series and so life had to be put on hold while I was busy attending to that, too.

But despite my lack of blogging, it does not mean that I wasn’t baking and creating! I actually have been quite productive, so I’ll post a few pictures of what I’ve been up to…

First, I finally got around to trying my idea of mint/lime macarons. I did manage to get some pictures of the process, but they got eaten up before I had a chance to take pictures of the final product.

almonds, sugar, and mint

IMG_3486

sugar and lime zest….mmm…yummy

IMG_3510

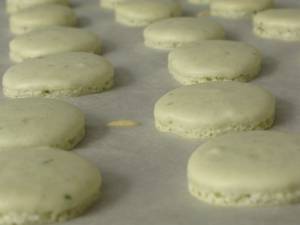
pretty shells!

IMG_3503

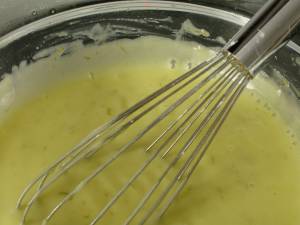
lime curd for filling

IMG_3518

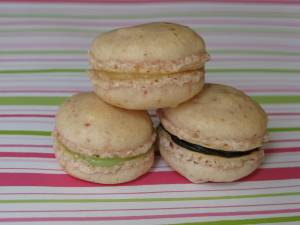
As I said, I wasn’t able to get any pictures of the finished lime/mint ones, but a few days later, I tried out a strawberry shell and filled those with lime curd and/or chocolate ganache. Here’s a picture of those…

IMG_3600

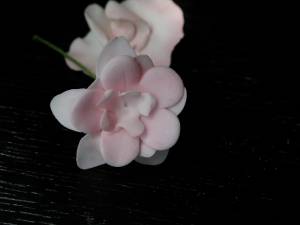
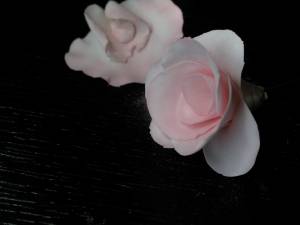
And then the other thing that I’ve been working on is a wedding cake for my husband’s cousin’s wedding…actually, i’ve just mostly been working on some flowers for that. What do you think?

IMG_3584

IMG_3590
IMG_3591

I hope you’ll all forgive me for my lack of posting…I am hoping that things will calm down a bit for me and I’ll be able to remember to take better pictures of the stuff I am doing. July was (is!) just a crazy month. Although August does look busy, I hope I’ll be able to make more time for this. Thanks for checking this stuff out!

Red, White & Blue cupcakes

So I think it’s pretty clear that I haven’t been terribly good at getting posts up in a timely manner lately…regular life has just been crazy lately, and I don’t really see it calming down any time soon. So just a warning to anyone who is reading this: posts might be erratic and brief in the next month or so.

I feel almost silly posting these now – we are so far past the holiday that they look like they should be marked “90% off!” and stuck in a discount bin, but I really wanted to share them with everybody because I thought they turned out pretty well and were fun to make. The story behind these isn’t too interesting: Ryan and I were invited to a picnic for the Fourth of July and I wanted something cute and theme-y to bring. I think the best part about these cupcakes is that this was the first project that Ryan really “helped” in the kitchen!

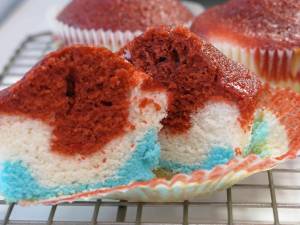
These were also very easy to make, if slightly more labor-intensive. We accomplished these by mixing up a batch of white cupcakes, splitting those into two bowls, and coloring one bowl blue. Then we did a half batch of red velvet cupcakes, and then layered the three colors into cupcake liners. Easy-peasy! 

setting up 

IMG_3395

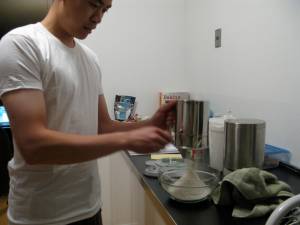
Ryan, sifting

IMG_3401

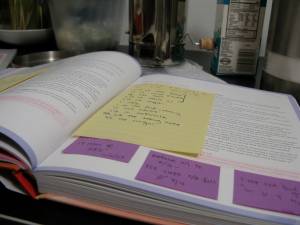
I hope I did all my conversions right!

IMG_3409

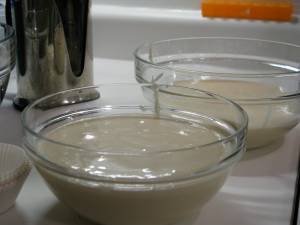
Two bowls of white

IMG_3424

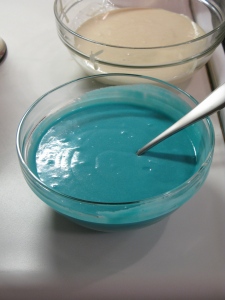
White and blue

IMG_3431

Mixing up the red

IMG_3434

Here we go…super red!

IMG_3438

Into the oven

IMG_3443

Ta-da!

IMG_3453

The layers are a little uneven, but you get the idea

IMG_3464

Ready for the party!

IMG_3460

Madeleines & Blondies

Hi everybody! Sorry I have been MIA for awhile – life has been a bit crazy in my little world, and it’s been difficult to sit down and blog. But never fear – the baking has not stopped! 

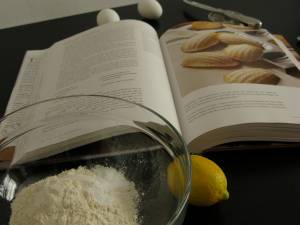
First up are the madeleines. This was my first attempt at making madeleines – a little strange considering how much I LOVE these cookies. But I guess part of the reason I’ve never made them is because I don’t own the requisite pans. However, now that I live with my brother-in-law, who makes these cookies on a fairly regular basis, I have access to the necessary pans! So off I went!

getting the ingredients together

IMG_3341

melted butter

IMG_3343

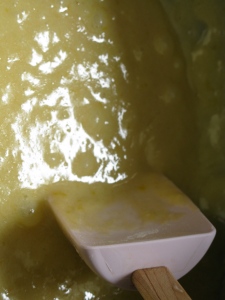
mixing the batter

IMG_3346

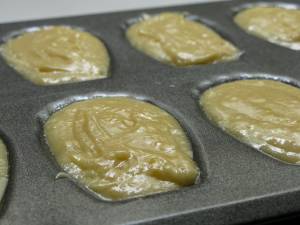
chilling in the pans

IMG_3349

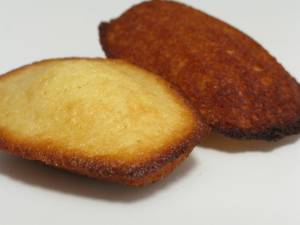
a bit crispy on one side…oops! but still mighty tasty!

IMG_3352

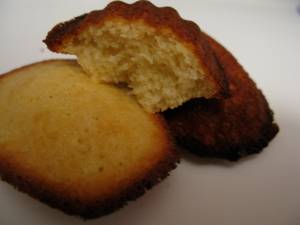
buttery, soft cookie…mmmmm

IMG_3355

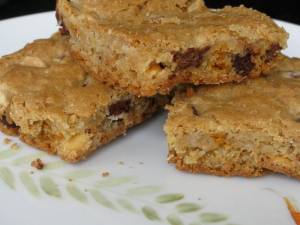
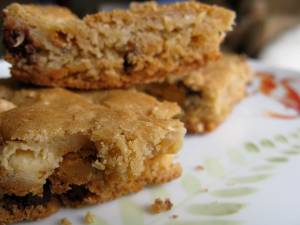
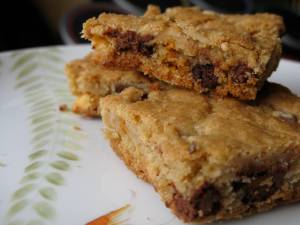
Both of these recipes are from Dorie Greenspan’s Baking: From My Home to Yours. This blondie recipe has a kinda funny story to it. A few months ago, I went to a pot luck where a friend brought a huge plate of the yummiest-looking blondies I’d seen in awhile. So of course I asked for the recipe…and I was shocked when I got home to find out that I had had the recipe in my kitchen the whole time. Silly me. I actually made this particular batch for a nurse at work who had been having a bad day, so I was rushing a bit when I made them and didn’t get a chance to take too many pictures. But here are some of the finished product:

IMG_3378

IMG_3383

IMG_3392

Baked Brownies

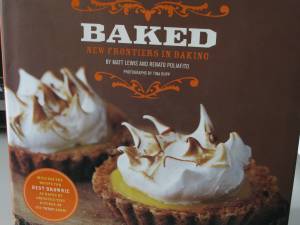
I’ve never been terribly cutting edge. I’ve always felt that I’m about 2 trends behind the rest of the world…even with brownies. This recipe is from a book that was released by a bakery in Red Hook, Brooklyn…about a year ago. It’s been all over the place, and according to Oprah, America’s Test Kitchen, and the Today show, this is the BEST BROWNIE in America. With credentials like that, why would it take me so long to make these? Good question. I have no answer to that other than pure laziness and an aversion to bandwagon-jumping, which I should really get over, because it always happens eventually. So finally, here it is…the famous Baked Brownie.

the book 

IMG_3314

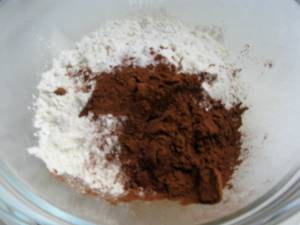
the dry goods

IMG_3308
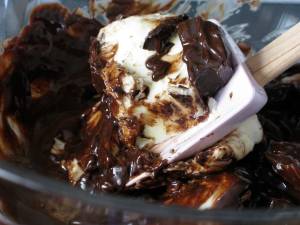
melting butter and chocolate

IMG_3311

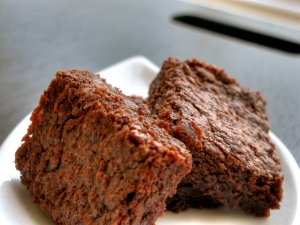
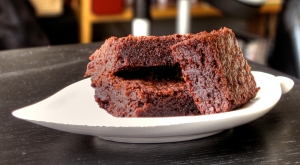
yummmmmy

brownies 1LR

brownies 2LR

So the verdict? A very good brownie – fudgey, with a crisp exterior. Exudes yumminess. Best in America? Hard to say. Something I found a bit strange about these were the edges. Normally, I am brownie-edge girl. Love the edges and corners (in fact, have been lusting after this for years, but can’t justify spending the cash). However, on these, not so much. But the middle part is definitely very good. I don’t know what it is that made the edges kinda funky, but I think it is something I’m going to have to keep working on. 

Anybody going out to New York who wants to bring me back a sample from the real thing?

Oatmeal cookies 2 ways

It’s been awhile since I made a simple, homey treat. Looking back over the blog, I realized that recently I’ve been making a lot of fancier-looking stuff. Now that’s all good and fine – I get a lot of enjoyment in working on tiny details and making things look nice, but sometimes the prettiest looking thing is a nice, chunky, homey cookie. So when my husband asked for oatmeal cookies, I was more than happy to oblige.

It seems that the most common oatmeal cookie is the oatmeal raisin cookie. For years, I thought oatmeal cookies were “mom” cookies. Growing up, it seemed that the only cookie my mother would eat on a regular basis was oatmeal raisin. I don’t really remember seeing her eat chocolate chip cookies, sugar cookies, peanut butter or anything else (even though these cookies were around A LOT since I was always baking as a kid). So somehow I got it into my head that moms only ate oatmeal raisin cookies. The only way I would eat an oatmeal raisin cookie as a kid was to pick out the raisins.

As I got older, I figured out that other people do eat oatmeal raisin cookies – myself included. I also discovered that there are so many other things that can go into an oatmeal cookie instead of raisins. This turned out to be a good thing since it turns out that my husband hates raisins, but really likes oatmeal cookies. (I think it took him awhile to figure this out since he also thought all oatmeal cookies had raisins.)

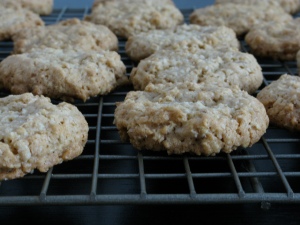
Since these cookies are for my husband, I made non-raisin cookies. He also prefers cookies without a lot of added chunks – but I like chunks! So I did them two ways; first, plain for the husband, and second, with white chocolate for me! These are based on a recipe from Deb at Smitten Kitchen, who adapted it from Cook’s Illustrated.

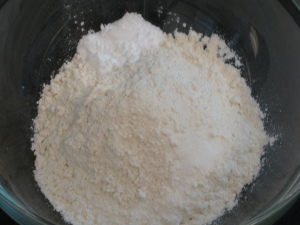
the dry stuff: flour, salt, baking soda & baking powder

IMG_3270

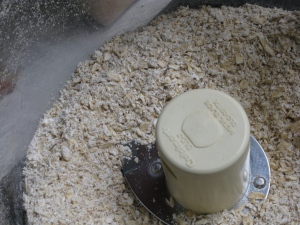
ground old-fashioned oats (I wanted a finer texture than whole oats)

IMG_3273

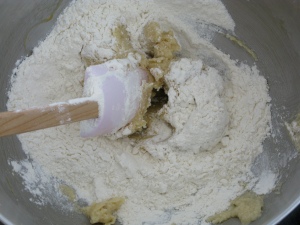
mixing the dry into the wet: butter, sugars, egg, vanilla

IMG_3275

scoops of dough waiting for the oven and sprinkled with salt

IMG_3280

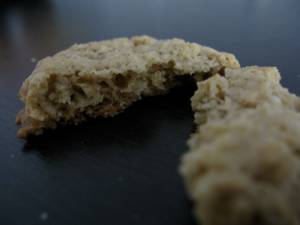
out of the ovenIMG_3284

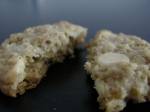
without chips

IMG_3300

and with chips! (I don’t know why this picture is smaller! I didn’t mean for it to be!)

IMG_3305


Jamba!

I started this blog as a means of documenting things that I create, specifically dessert-type things. However, this post is going to diverge slightly from that original theme (i.e., no dessert today – sorry!).  This morning, I had the opportunity to participate in a tasting event at Jamba Juice – this is one of the perks of having joined the food blogosphere. So although Jamba Juice has nothing to do with desserts I create, or desserts in general, I am a big Jamba fan and could not pass up this opportunity. So I apologize for the small digression from the original intent of this blog, but I just had too much fun this morning and had to share it with you. 

The event Jamba Juice hosted this morning was to introduce their new line of food. Starting this Monday, 222 Jamba Juices in California will start serving a selection of packaged and hot foods in addition to their smoothies. To kick this off, they invited food bloggers into their Test Kitchen to sample the goods. Their new food lines include their “Grab and Go” products (ready-made wraps, sandwiches, and salads), California Flatbreads, and a line of Fruit Tea Infusions. We also got to sample their new Blackberry Bliss smoothie.

We started the morning going over the press pack and getting some background information on the company. Then we got a little tour of the employee kitchen – each of the employees gets a smoothie a day!

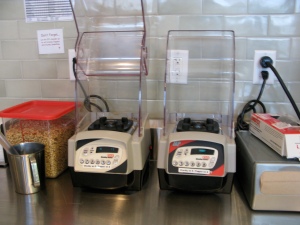
The yummy frozen fruits for the employee smoothies:
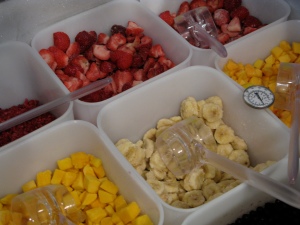
IMG_3184

IMG_3188

And then we walked by their sensory stations. This is where they do some tastings; they use red light so people can’t use the color of the food to influence what they think.

IMG_3192

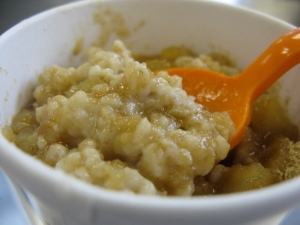
And then into the Test Kitchen! My camera started running out of batteries at this point…silly Denise forgot to charge it last night so I didn’t get any pictures of the facilities, which was really too bad. I found it really exciting to be in a place where people get paid to play with food! The first food item we got to sample was the steel cut oatmeal that they launched earlier this year. I got the apple cinnamon one – tastes like apple pie for breakfast! I could totally get on board with that. They also have a fresh banana topping and a bluberry/blackberry topping.
IMG_3200

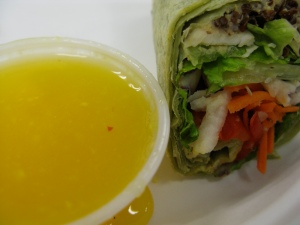
Next up were the Grab and Go wraps, sandwiches and salads. This one is the Greens and Grain wrap – red quinoa and hummus with field greens wrapped in a spinach tortilla. It came with mango vinaigrette. 
IMG_3204

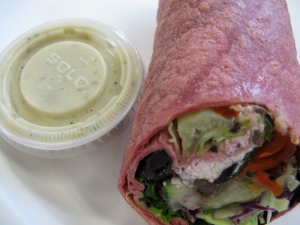
The other wraps include the Chimichurri Chicken Wrap, Asian Style Chicken Wrap and the Greek Goodness Wrap, which is pictured below. The Greek Goodness wrap includes feta cheese, kalamata olives and field greens wrapped in a beet tortilla (that’s why it’s red!). 

Greek Goodness Wrap
IMG_3216

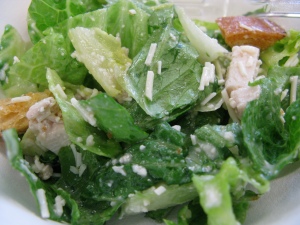
Their two salads are a chicken Caesar (“Caesar the Day!”) and a Couscous and Produce Salad.

Caesar the Day
IMG_3220

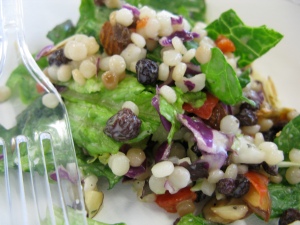
Couscous and Produce Salad

IMG_3222

Next were the hot food items – what Jamba Juice is calling “California Flatbreads.” They are almost like little mini-pizzas. They are intended to be more of a small snack or paired with a smoothie to make a meal. Unfortunately, this is where my battery fully died on me and I didn’t get any very good pictures. But if you can imagine – they are about 5 inches across and are heated to order. There are 4 different kinds: Four Cheesy, Smokehouse Chicken, Tomo Artichoko, and MediterraneYUM. 

And last but not least, we got a tasting of the new Fruit Tea Infusions – an infusion of organic green tea and natural fruit juices.

Prickly Pear Tea Infusion
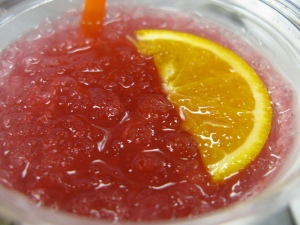
IMG_3209

The other flavors include Pomegranate Tea Infusion and Passion Fruit Tea Infusion. These drinks are like the smoothies – they are made to order and can be customized (e.g., extra tea). 

With the summer months coming up, I was pretty excited about these new offerings from Jamba Juice. I think these could be a great choice for people looking for an easy, healthier, fast meal.
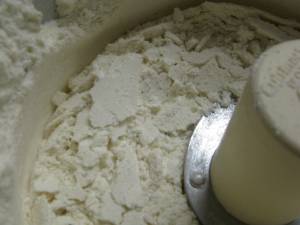
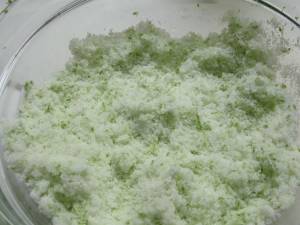
Seeing red

 Earlier this week, I went to a local cupcake shop with some friends and one of my friends really wanted red velvet cupcakes. Unfortunately, this particular cupcake place did not have red velvet. Even though we were more than satisfied with the cupcakes we did end up sampling, I couldn’t stop thinking about red velvet cake and how my friend wanted one, but never got it. This made me sad. I don’t like to be sad, so I thought I’d make myself (and her) feel better by making red velvet cupcakes to share.

This turned out to be a pretty good idea, anyway, since I am making cupcakes for a wedding later this year, and I have yet to find my ultimate red velvet cupcake recipe. So I thought this was a very efficient use of time – testing a recipe for wedding cupcakes and simultaneously satisfying my friend’s wish. 

I have to admit, the only other time I’ve made red velvet cake I used the Sprinkles mix. I didn’t love the way they turned out and I really didn’t love the way the mix covered the entire kitchen with fine layer of red dust. So I researched various red velvet recipes – looking for a moist but sturdy cake with good cocoa flavor, and brainstormed ways to contain all the red. I had visions of me and my kitchen resembling the prom scene in Carrie . Food coloring and I do not always get along.

I think I found a good starting point, as far as recipes go; I started with the one by Elisa Strauss in The Confetti Cakes Cookbook. I think I’m going to keep working on it a little, but it seems promising. And as for the red dye, it seems to have mostly contained itself to the cake batter.

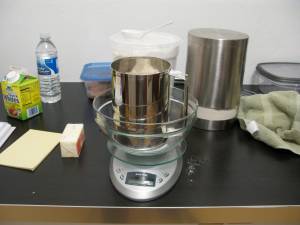
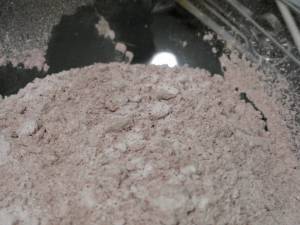
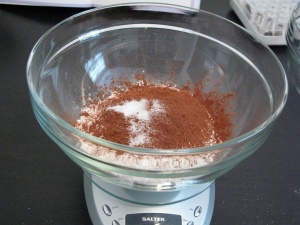
Here we are weighing the cake flour, cocoa & salt…

IMG_3146

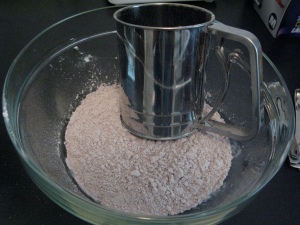
And then sifted – I hate sifting. I need to get me one of these sifters. I have no I idea why I didn’t register for one when I got married. So obvious now!

IMG_3147

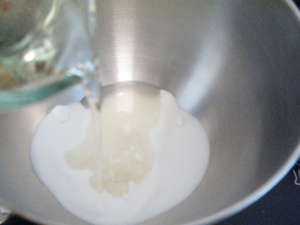
Mixing the sugar & the fat (oil in this case – sorry for the quality of the picture):

IMG_3150

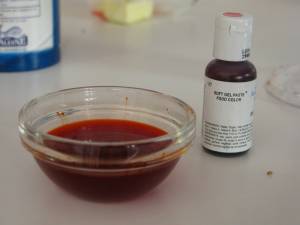
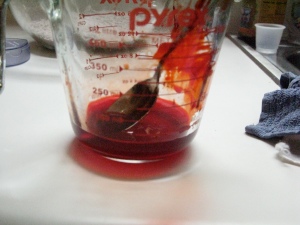
And here’s the scary red food dye:

IMG_3153

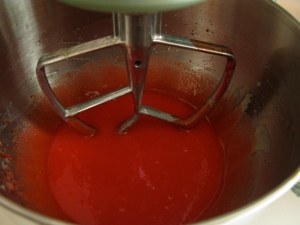
Mixed into the sugar, oil & eggs – anyone else getting Carrie flashbacks?

IMG_3156


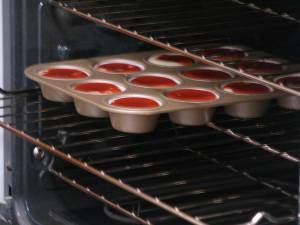
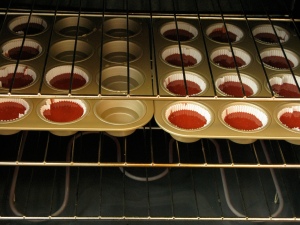
Luckily, the addition of the flour and cocoa really tempers the color. And then spooned into cupcake liners and into the oven:

IMG_3158

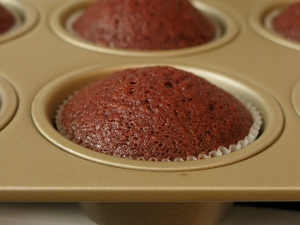
About twenty minutes later:
IMG_3162

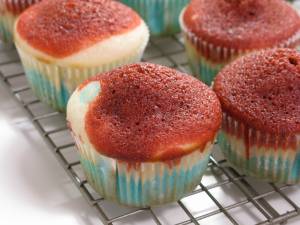
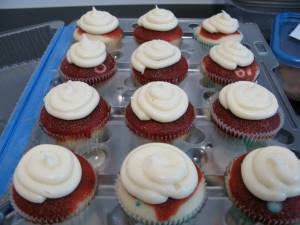
The color isn’t so bad after it’s baked. I went back and forth about what kind of frosting to use. I’ve been reading contradicting information about what the “traditional” frosting for red velvet cake is – either cream cheese frosting or a 7-minute frosting. I’ve always had it with cream cheese, which I personally prefer to 7-minute frosting anyway, so I decided to go that route. 


IMG_3172

It bums me out that you can’t really see the red in the cake in these pictures. I’m sure there’s a way to do it, but since my photography skills are comparable to my neurosurgery skills, this is the best it’s going to get.

IMG_3177

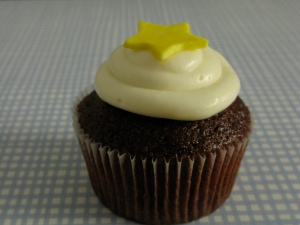
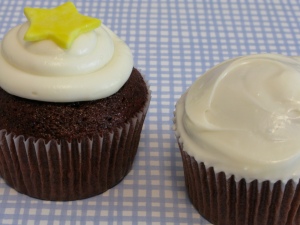
I wasn’t too thrilled with my piping job on some of the cupcakes, so I smeared the frosting out for  a different look. Which do you prefer?

Birthday Pies

This is going to be a brief post for a couple reasons – 1) I lost my voice so I don’t want to talk much & 2) I was so distracted during the process of making these pies that I didn’t get a chance to take many pictures.

But anyway, this past weekend we celebrated my husband’s birthday, and, as always, I made him some birthday pies. He is one of the weird people who claims he doesn’t really like cake and prefers pies. In fact, at our wedding, he was trying to convince me that wedding pie would be better than cake. Silly boy. Don’t mess with me and my cake. 

But this post is about his birthday, not my wedding (hahaha), so he gets his choice of pies. This year he chose pecan pie (his favorite) and a pear pie, which I translated into Pear and Almond Tart.

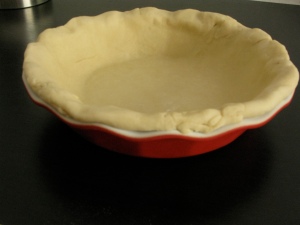
This is the crust of the pecan pie:

IMG_3075


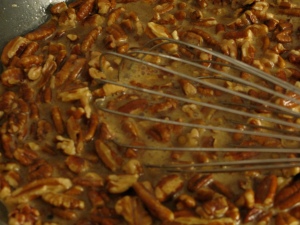
And the filling:

IMG_3080

And those would be the only pictures I have of the pecan pie. Use your imagination and put those two images together. That’s more or less what the finished product looked like.

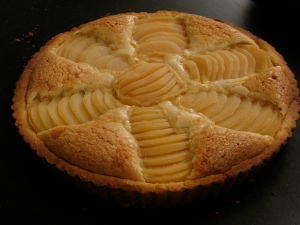
What really surprised me, though, was the Pear & Almond tart. It’s something that’s been on my list to make for a number of years now, and I never got around to doing it. I don’t really have any pictures of me making it, but here’s the finished product.

IMG_3089

I wish I had taken better pictures of it, but there were about 20 people staring at me and waiting to eat it while I was taking pictures and I didn’t want to keep them waiting. But, basically, it’s got a sweet butter tart crust and is filled with almond cream and poached pears (I cheated and used canned pears – which, apparently, is what they use in the fancy French bakeries in Paris so I don’t feel too bad about that). I was very pleased with it and am looking forward to making it again – hopefully, with better pictures.

So what do you think? Also, do you prefer pictures of just the finished product or are the images of the process interesting, too?

Another Challenge for Future Denise

So we’re back to macarons. As I have said previously, these little buggers really get under your skin. I have spent countless hours daydreaming about making them and trying new flavor combinations. Unfortunately, after today’s attempt, I think my obsession with these things is about to grow…

If you haven’t figured it out yet, I hate making mistakes. I hate failing. And while I wouldn’t say that these macarons are a failure, I know I can do them better. I waffled back and forth about whether I even wanted to post about these…but I reminded myself that one of the purposes of this blog is so I can record my progress. So here they are:

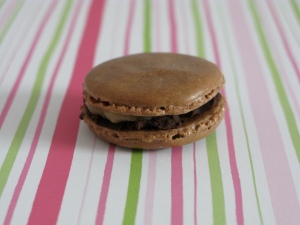
IMG_3066

This was my first attempt at chocolate macaron shells. I’ve hesitated on the chocolate shells because I’ve read that the acidity of the cocoa powder can wreak havoc on the precise chemistry upon which the success of these cookies depend, thus making these the most finicky of these finicky cookies. But today, I decided I would face my fear. So far, the planets have all lined up for me when it comes to macarons, and I had no real reason to believe that I would fail. So off I went, carefully weighing and mixing. But when I popped them into the oven, my fears were confirmed. While they all developed their little feet, their tops were far from the beautiful smooth domes that are desired. Rather, these were either wrinkly or cracked. A couple had smooth tops, but they were strangely flat. I decided that they needed more time in the oven. Big mistake. 
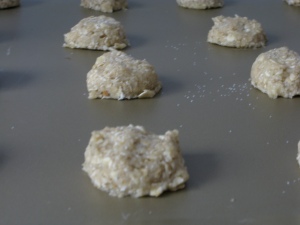
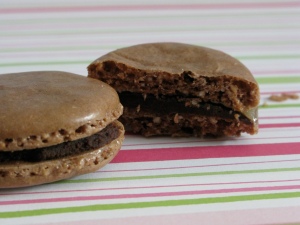
IMG_3070

While I concede they don’t look too shabby in pictures, it is in their texture that I find major fault. Instead of having a nice crisp outer shell, giving way to a soft chewy interior, these are crunchy. Like, bite-into-them-and-watch-the-crumbs-fly- crunchy. So my big conclusion is that I over baked them…something that Future Denise can easily rectify her attempts. But she should do some more research and try to figure out what is behind the wrinkly tops…perhaps it had something to do with my difficulties in achieving a good meringue this time?

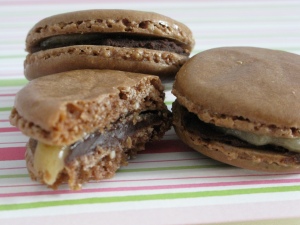
IMG_3072

Despite their failings, I filled them anyway…with the hope that the filling would mask their flaws. Y’all like chocolate and caramel, right? I don’t think they taste too bad. I just recommend eating them over the sink so that when you bite into them, the crumbs don’t fly all over the floor.

So this will be another project for Future Denise…hopefully, her chocolate macaron fate will be more favorable.

Me vs. Me

There was an episode of Friends (I want to say season 10) where Monica gets goaded into making Thanksgiving dinner in order to improve on her previous year’s dinner. She says something like, “It will be like I’m in competition with myself…that’s my favorite kind!” I am ready to embrace my inner Monica. Ever since I made that present cake (less than 24 hours ago), I feel like Future Denise has been challenging Past Denise and claiming that she can do it better. This is because Present Denise is so bothered by some of the strange quirks that appeared in the cake that she spent a good part of her morning obsessing about all the things Past Denise should have done differently.

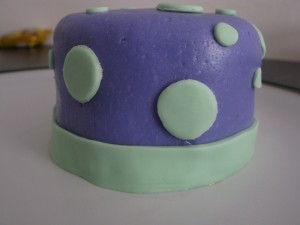
All of this is a very confusing way of saying that this morning, 30 minutes before I was supposed to leave for work, I decided I had to try again. Right that instant. Could not wait. I had everything I needed in front of me: extra cake, tons of extra fondant, etc. So I went to work and twenty minutes later I had this:

IMG_3061

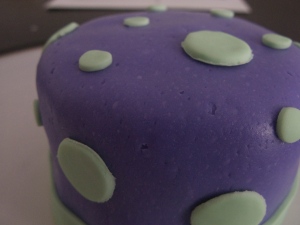
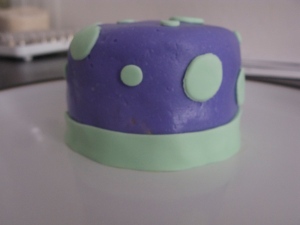
It’s a mini-cake! But I think you can see the strange pock marks and bubbles that kept cropping up. You can see it on the purple, but not the green. I can’t figure out what happened. No matter what I did, I couldn’t get it smooth and satiny. I’m guessing this has to do with the way I made my fondant, instead of using the commercially-made stuff. Homemade is not quite as pretty here, but tastes infinitely better! I guess this means more practice is needed.

IMG_3063_2

IMG_3060_2

Grrr…Present Denise is still dissatisfied. We will continue to challenge Future Denise…anyone out there need a cake?